With years of experience, EZ‑brakes delivers a thorough, user‑friendly guide on how to adjust drum brakes, compared with disc brakes to give you clarity. Whether you’re handling the drum brake adjuster, brake adjuster, or adjuster arm, this guide ensures your car brakes meet standards and your test drive results are stellar.
Why Proper Drum Brake Adjustment Matters
If incorrectly set, drum brakes cause brake drag, poor pedal feel, or excessive wear. Adjusting the drum brake adjuster mechanism accurately helps prolong shoe and drum life. Unlike disc brakes, drum systems require manual fine-tuning using a screwdriver or adjuster tool. A correctly oriented adjuster arm and clearances help ensure inspection readiness and safe braking.
Passing a state vehicle inspection often depends on proper adjustment. When shoes rub too tight or sit too loose, brake efficiency drops. By aligning your adjuster arm and using the brake adjuster properly, you optimize responsiveness and force distribution across the rear of the vehicle.
Read more: Disc Brakes vs Drum Brakes
Signs You Need to Adjust Drum Brakes
Look for these clear signals:
• Spongy brake pedal or long pedal travel indicates excessive clearance or hydraulic delay.
• Vehicle pulling to one side during braking often results from uneven shoe adjustment or a frozen drum brake adjuster.
• Dragging when spinning the rear wheel without brakes engaged, cleaning or re-lubricating the adjuster may solve it.
• Strange noises when braking, especially scraping or grinding, point to excessive friction inside the drum.
• If your disc brakes feel sharper compared to rear brakes, drum adjustment might be needed for smoother, balanced stopping.
These issues are symptoms of imbalance, misalignment, or stuck adjuster arm parts affecting brake travel and uniform braking.
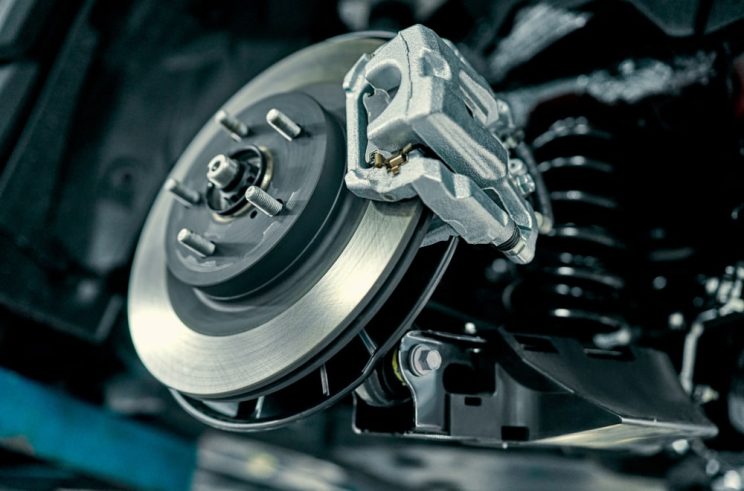
Understanding How Drum Brakes Work
Drum brake systems differ significantly from disc brakes. Key components include:
• Brake shoes with friction lining
• Return springs to retract shoes
• Hydraulic wheel cylinder for shoe actuation
• Drum brake adjuster or brake adjuster star wheel, controlled via adjuster arm
• Metal backing plate, usually with a rubber plug to access the adjuster
When the pedal is applied, shoe expansion creates friction against the drum. The drum brake adjuster ensures shoes remain at optimal clearance. The adjuster arm stabilizes that motion and prevents over-rotation. Disc brakes, in contrast, rely on pistons and calipers with brake pads, rarely needing manual adjustment.
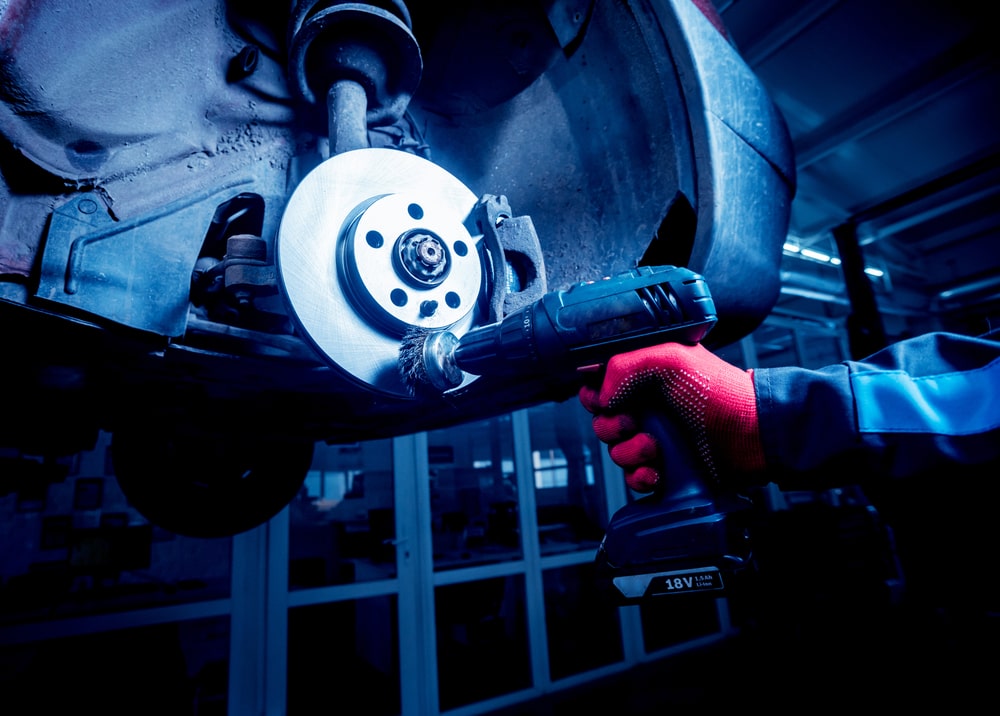
Tools and Materials You’ll Need
Stock your workshop with:
• A drum brake adjuster tool or flathead screwdriver
• Jack and jack stands (rated for your vehicle)
• Wheel chocks for safety
• Brake cleaner, high-temp lubricant, clean rags
• Inspection mirror, flashlight, gloves, safety glasses
• Replacement hardware kit (springs, clips, star wheel)
• Ideally, a small torque wrench for lug nuts
At the rear of the vehicle, remove the rubber plug on the backing plate to access the adjuster without removing the drum completely.
Preparation & Safety Checklist
- Park on level ground and engage the parking brake.
- Place wheel chocks behind front wheels to immobilize the car.
- Loosen the lug nuts on the rear wheel but do not remove yet.
- Lift the vehicle and secure with jack stands.
- Remove the rear wheel to expose the drum brake assembly.
Before starting, educate yourself on how your brake system compares to disc brakes and where the drum brake adjuster and adjuster arm are located.
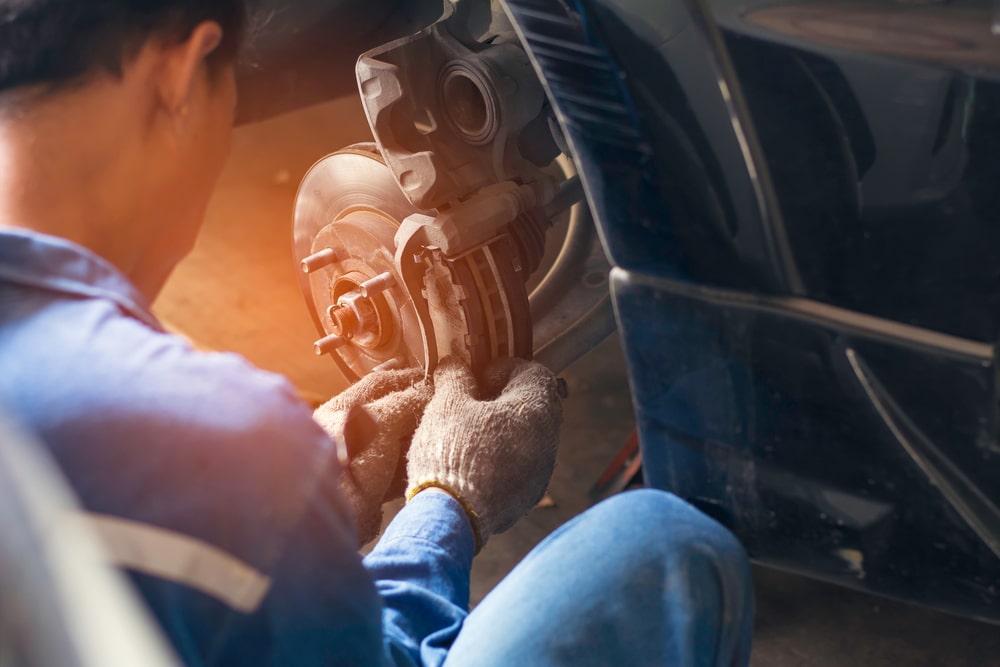
Inspect Brake Components
Pull the drum and begin inspection:
• Check friction lining thickness, less than 2 mm is worn.
• Inspect return springs and pads (shoes). Replace worn brake pads or shoes immediately.
• Examine the adjuster arm; if bent or corroded, it may prevent proper movement.
• Rotate the star wheel by hand. If stiff, clean and lubricate it with high-temp grease.
Be mindful: some shoes mimic disc brake pads in appearance. If substituting shoes and pads in the future, ensure compatibility and correct placement.
Step-by-Step Instructions: How to Adjust Drum Brakes
1- Preparation and Safety
- Park on a level surface, use wheel chocks, engage parking brake.
- Loosen lug nuts on the rear wheel, then lift and support the vehicle.
- Remove the wheel and set aside safely.
2- Inspect Brake Components
• Pull off the drum and inspect lining condition and return springs.
• If the adjuster arm or shoes are excessively worn, replace them before adjusting.
• Confirm that the drum brake adjuster turns freely. If it doesn’t, clean with brake cleaner.
3- Adjusting Clearance via Brake Adjuster
• Insert the screwdriver through the rubber plug opening.
• Turn the brake adjuster star wheel in the opposite direction to tighten shoes outward until they lightly contact the drum.
• Rotate the star wheel back in the opposite direction to back off slightly, just enough so the drum spins with slight drag.
4- Reassembly and Fine‑Tuning
• Reinstall the drum and rear wheel, torque lug nuts properly.
• Remove jacks, lower the vehicle, and reinstall the rubber plug.
5- Test‑Drive and Final Adjustment
• Perform a test drive in a safe area, testing braking performance.
• If brakes feel grabby or spongy, revisit the adjuster and tweak the setting in the opposite direction of the prior adjustment.
• Confirm both sides match in feel and pedal response.
Adjusting Brake Shoe Clearance
1: Engage the Adjuster
Through the access hole:
• Insert your screwdriver or adjuster tool.
• Turn the brake adjuster star wheel in one direction until resistance begins.
Step 2: Back Off Slightly
Turn the adjuster in the opposite direction until the drum spins with only light drag against the shoes.
Repeat these steps on both sides to ensure uniform feel and braking performance.
Fine-Tuning and Reassembly
• Carefully reinstall the drum and wheel.
• Tighten lug nuts by hand, then torque to specification after lowering the car.
• Replace the rubber plug to seal the access hole.
• Remove jack stands and lower the vehicle fully.
Test‑Drive & Final Adjustments
• Find a safe, open area to do a test drive.
• Use light to moderate stops at low speeds first.
• If braking feels grabby, use the adjuster to back off a turn or two in the opposite direction.
• If the pedal feels too soft, tighten the brake adjuster slightly.
Fine-tune until braking is balanced, responsive, and symmetrical on both sides of the rear of the vehicle.
Common Mistakes to Avoid
• Over-tightening the drum brake adjuster, leading to brake drag.
• Forgetting to check the adjuster arm or hardware for corrosion.
• Skipping the test drive, fine-tuning makes a huge difference.
• Neglecting to inspect or replace brake pads or shoes.
• Treating drum systems the same as disc brakes, when they demand different techniques.

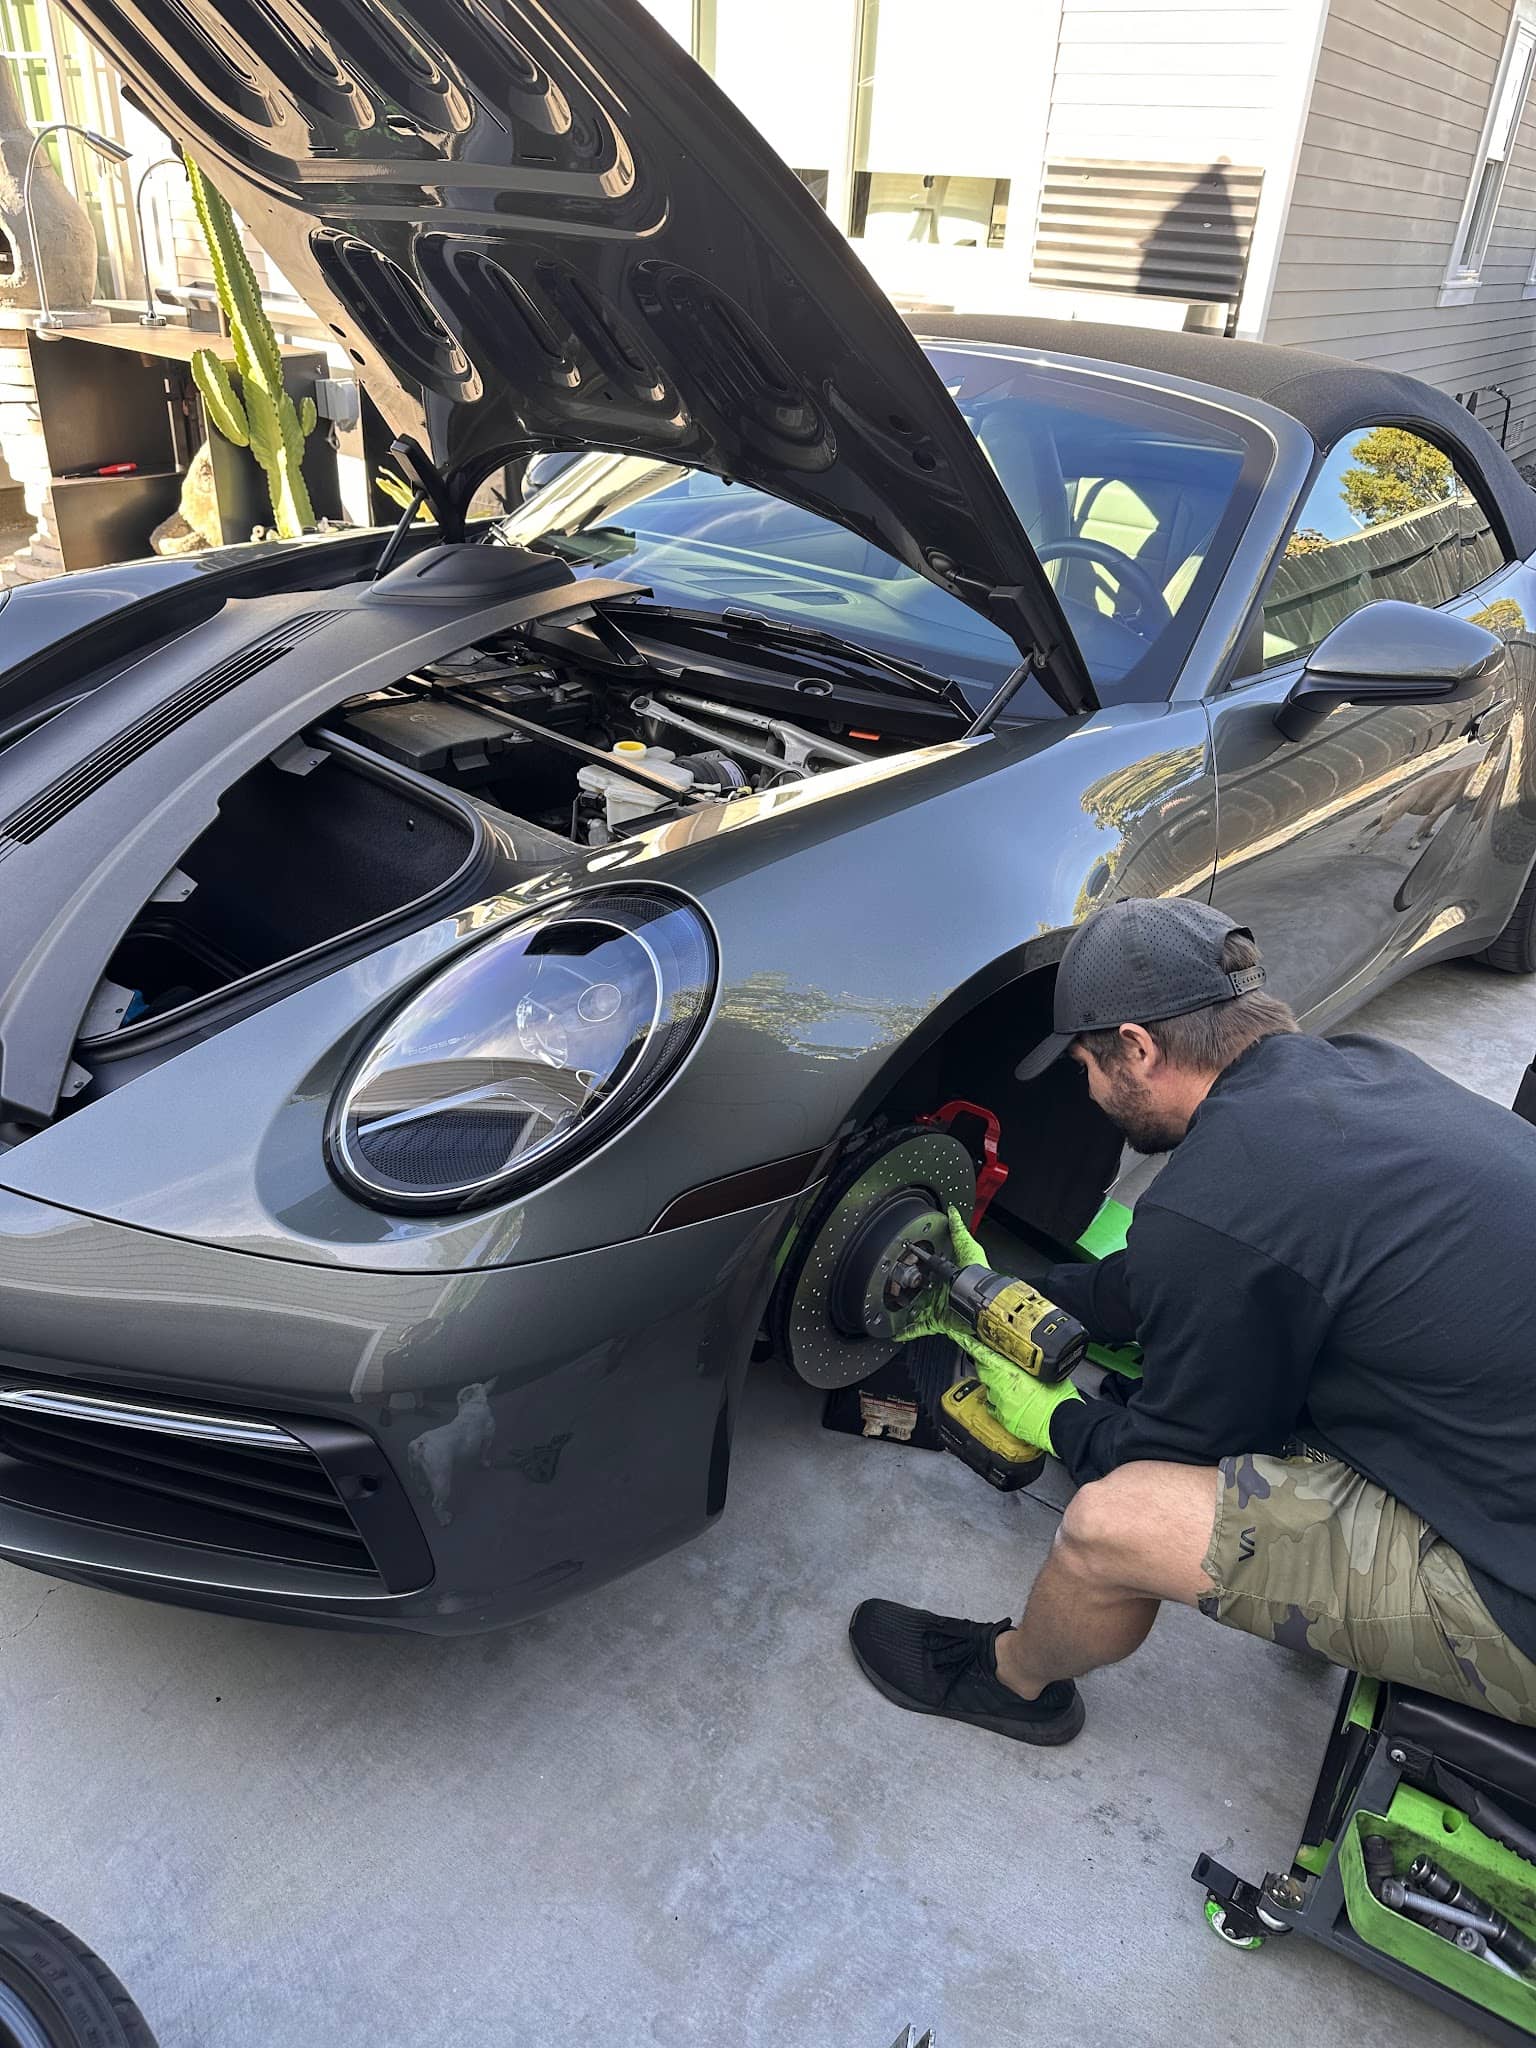
When to Seek Professional Help
While many drum brake adjustments can be done at home, some situations call for expert attention. You should contact EZ-Brakes Mobile Brake Service if:
• The adjuster arm is seized, stripped, or unresponsive
• The brake drum surfaces appear warped, glazed, or deeply scored
• Braking remains uneven even after proper adjustment
• You detect hydraulic issues in the wheel cylinders, such as fluid leaks or inconsistent pressure
• Major components like return springs, backing plates, or entire brake adjuster assemblies need replacement
In these cases, EZ-Brakes Mobile Brake Service has the tools and expertise to machine drums, restore balance, and replace worn hardware. Our technicians ensure your vehicle meets safety standards and passes state vehicle inspection with confidence.
How Often Should You Adjust Drum Brakes?
From years of experience, our recommendation:
• Inspect and adjust every 12,000–15,000 miles or yearly.
• After replacing brake pads or shoes.
• Before annual state vehicle inspection.
• After heavy-duty use: towing, gradients, or dusty terrain.
A consistent log, mileage and date, helps maintain proper brake adjuster performance.
Comparison to Disc Brakes
• Disc brakes rely on pads and hydraulic calipers; seldom need manual adjustment.
• Drum brakes use shoes and star-wheel adjusters that require physical fine-tuning.
• Misadjusted yard brakes on the rear may feel different than crisp, modern disc systems up front.

